
How to Use the Pentel Aquash Water Brush Pens for Watercolor Lettering + Calligraphy

Pin for later
The tools don’t make the artist. But some tools are just so kick-ass that you can’t help but talk them up at every opportunity you get.
Enter the Pentel Arts Aquash Water Brush pen set. I’ve talked a lot about these before. Heck, they’re in a lot of my recent Instagram video posts. When working with watercolor, I probably reach for these 60% of the time over regular watercolor brushes, even though traditional watercolor brushes are higher quality.
Why? Because they’re so easy to use! Having the water in your hand gives you a lot of control over pigmentation and keeping your brush tip clean. Plus, they travel beautifully.
In this week’s post and video, I’ll show you exactly how I use the Pentel Aquash Water Brushes with my watercolor palette for watercolor and calligraphy.
Click to Read Video Transcript
- Hey guys, it’s Jenn. In this tutorial I’m going to show you how I use my Pentel Water Brushes to create ombre effects for watercolor, and just show you how I use my water brushes in general with watercolor, because I got some questions on that.
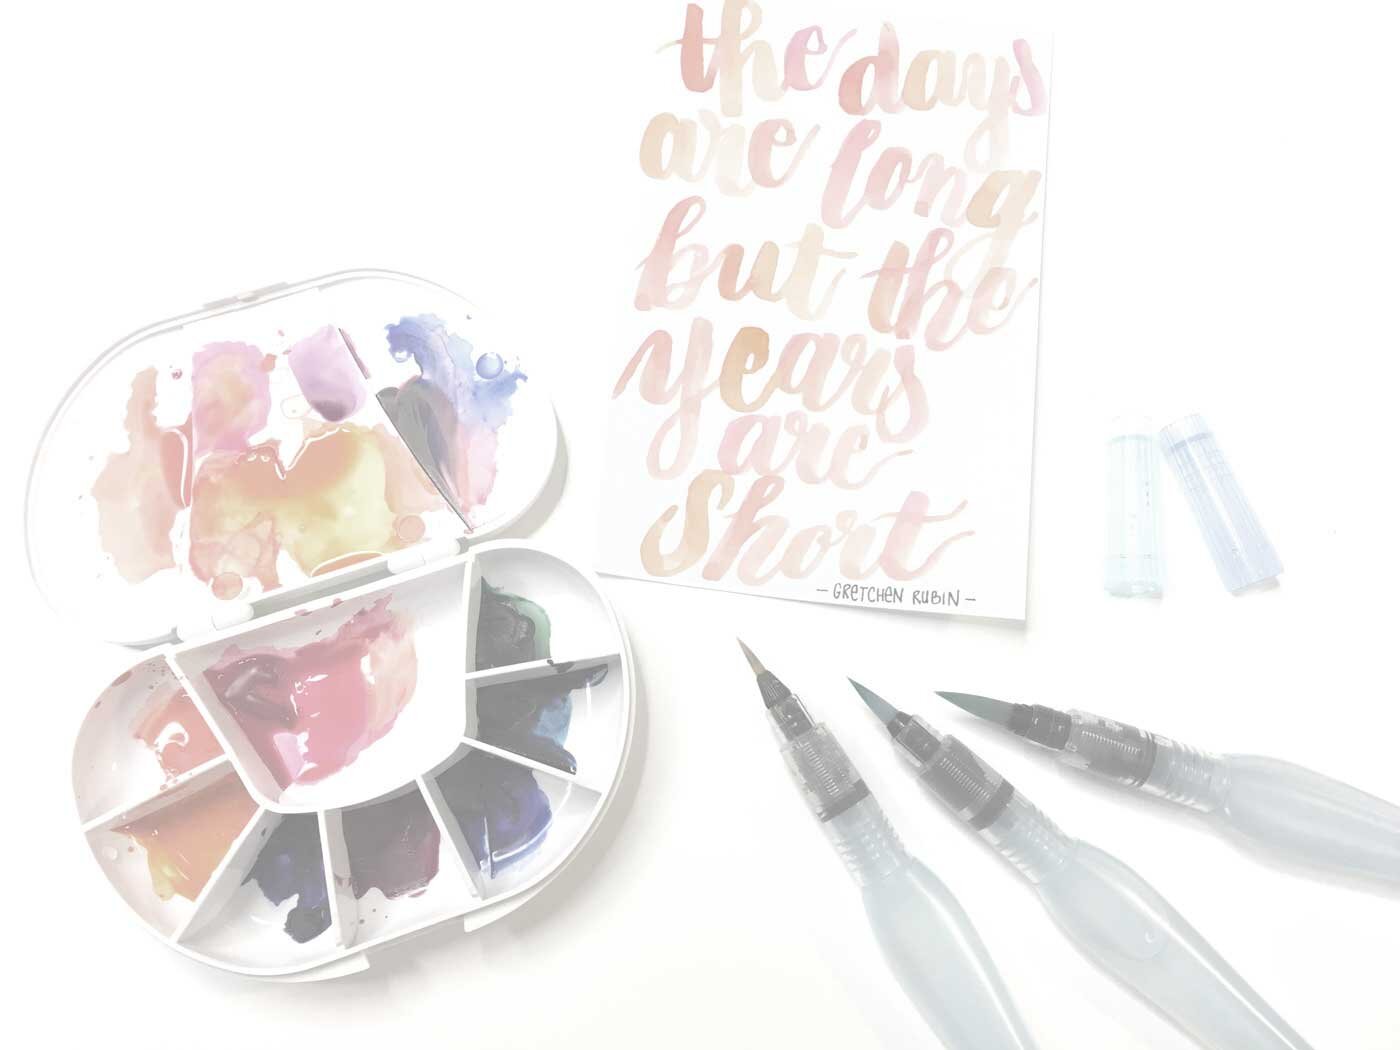
- So this is the kind of effect that I want to do. So right now, I have my three watercolor brushes and you can see that they range in size.
- This is the smallest one, this is the medium-sized one, and this is the largest one.
- For this, I’m going to be using the smallest one. It looks like the tips are stained right now, but the pigment isn’t there, but the stain is, so we don’t need to worry about anything.
- You can always have a piece of scrap paper nearby just to test it.
- So in order to do this tutorial youre going to need some watercolors, a paper towel, your water brush which is filled with water, and then a scrap piece of paper and your main piece of paper.
- So in order to use your water brushes with watercolor, you just need to kind of wake up your palette. So when I’m doing this ombre effect, I like to have my palette colors up top so I can easily grab the pigment from there.
- So in this one, I kind of want to do a similar thing where I have reds, oranges, a little bit of pink. So I’m going to pull these colors up here. To wake up your palette, you just need to squeeze a couple drops into your watercolor pigment here, and then start to pull up the color there.
- Now you can see up here that it’s still really not pigmented a lot, so I’m just going to keep pulling color from here. So what I’ve done is squeezed a few drops and I’m just really agitating the pigment so it’ll wake it up and soften the pigment a lot so you can see that it’s starting to get a little more pigmented now. It’s still not quite there so I’m just going to keep going. These colors have dried overnight in my travel palette.
- And if you want to see how I made this travel palette or what resources I used to make them, ou can check out that video.
- These tips of the water brushes are pretty resilient so you can be rough with them. Just make sure that when you go to store them that they’re clean and that the bristles are pushed together.
- Okay, that’s pretty good. So now that I have that color and pulled a little bit more up here so I have enough to work with and up squeeze and clean off my brush, you just squeeze the water through the chamber and then you can see that the tip is mostly clean. Now I’m going to pull up some more orange here so I’m just going to do the same thing, wake up the orange, and I also want to pull up some of that pink so I’m just going to wake up the pink here. Generally, the higher quality the watercolor, the more it’s going to get pigmented faster. So you can see that the orange and the pink are working a lot faster here because they’re Windsor & Newton Cotman’s. This one was a very inexpensive color, I think it’s vermillion from Artist’s Loft.
- So now that we’re ready to go, I’m just going to do some warm up strokes to make sure the pen is working okay. So again with water brush lettering and brush lettering in general, you want to make sure your down strokes are thick and your up strokes are thin.
- And you can just kind of dip between the three colors that you have, or however many colors you have. And if you want to chnage colors, do so on the down stroke.
- So with this palette you can see I have these three colors that are woken up. I’m not going into these colors because they’re from an older project, but you can just go ahead and use your watercolor.
- I’m going to go ahead and speed up the video so you can watch me hand letter this quote: “The days are long but the years are short” and that’s from Gretchen Rubin.
- So there we go. I hope you guys enjoyed this tutorial. If you have any questions on how to get started with brush lettering, make sure to check out my ebook, Getting Started with Brush Lettering. Also, visit my site for more tutorials on watercolor and digitizing your watercolor, etc. I’ll talk to you in my next video. Bye!
Tips for Working with the Pentel Aquash Water Brush and Watercolors
-
Squeeze drops of water into your dry watercolor pigment to help “wake up” your palette.
-
Use the durable tips to help massage the watercolor pigment with water in order to stir your color.
-
Pull the colors you want to use into a mixing tray. This will help you control pigmentation and make it easier to re-dip your brush when switching colors.
-
Clean your water brush easily by squeezing water through the chamber while wiping off the tip on a paper towel.
-
When you’re all done, make sure your brush tip is clean and the bristles are smoothed back into a point. This will help your water brushes last longer.
-
Even after you clean your water brush, the tips may look dirty. As long as the water comes out clear when you’re wiping it off on a paper towel, the bristles are clean; they’re just stained. No worries!

Tell me—do you own water brushes? What are your best tips for working with these tools? Comment below!
Follow the blog with Bloglovin


Learn Brush Lettering in One Weekend (Or Less)
Whether you’re a brush lettering fan, an artist, a hobbyist, or a side-hustler, Brush Lettering Basics will get you up and running with all you need to know about brush lettering—quickly!